My clients often ask me whether I will have to cook dinner when I get home. It’s a great question. After spending 3-4 hours in my clients kitchens cooking up a storm, I’m ready for a good meal and a quiet evening at home. The answer depends on whether I’ve planned ahead for the week and done some cooking for myself.
Knowing that you have a delicious meal waiting for you when you get home is a life changing experience. For our clients, it takes the stress out of planning meals and finding the time to cook. It gives them peace of mind and removes a major stressor – figuring out if you have food available that meets your food sensitivities and is “safe” to eat. For me, it means that I can come home and enjoy my evening and finish all my work for the day.
Cooking in bulk is a wonderful thing. It’s much easier to make one large pot of soup than it is to make three different soups in smaller quantities. Making a dish in larger quantities does take more time, but not considerably more than a small portion. The great thing about it is that you can freeze the rest in small portions and have food available whenever you need it. It’s really a different way of going about making dinner. There is a slightly larger investment of time when you cook, but it pays off down the road.
We here at The Secret Ingredient are quite good at cooking in bulk – it’s what we do! So I wanted to share some tips and guidelines that would make it easier for you to try it yourself. The first thing to consider is variety. You might want to start by making just a few dishes – let’s say three. If you freeze half of that food and make another three dishes the following week, you have six to choose from. Pretty soon, you build up a “library” of food and you will have plenty of variety. All it takes is some planning and patience.
One of the first and most important considerations is storage. How are you going to freeze all that food and where are you going to keep it? There are two things to keep in mind:
1) Containers. It’s best to use small containers that contain one or two portions. After you defrost the food, you can’t refreeze it again. I prefer glass containers, such as glass tupperware. Plastic containers (free of BPA) are ok as long as the food is cool when you put it in. You don’t want to place hot food into plastic containers because they can leach chemicals into the food. For soup, I often use glass quart sized canning jars. They freeze well as long as you leave at least 2 inches of space at the top, and the soup is cold. You need to let the soup cool down, then place it in the fridge and when it is cold you can transfer it to the freezer. If you don’t leave enough space or the soup is too hot, the jars can crack from the liquid expanding inside.
2) Storage. If you don’t have room in your freezer to store food, you might want to get a small chest freezer. They are energy efficient and can hold a lot of food. You also want to make sure that you label and date your meals and rotate them so that they are not stored for more than three to six months.
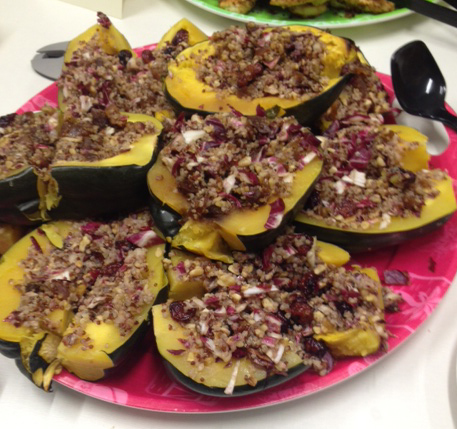
Once you figure out how to store your food, you need to figure out what to make. In general, many things freeze well. Some things to avoid include avocadoes, tender greens (like salads), spaghetti squash, dishes that tend to get mushy like stir fries or dishes that need to be fresh like steak. You want to include some variety so that you have a few different things on hand. Some examples of dishes we make that freeze well are: casseroles, soups, chicken, lamb or beef stews, meatballs, meat or vegetable patties, cookies, muffins, curries, roasted meat (in many forms), roasted vegetables, chili, etc. Fish and seafood dishes can also be frozen.
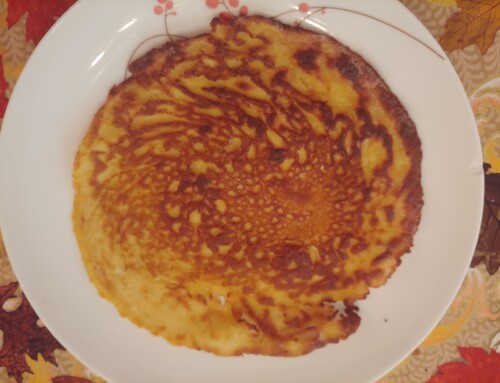
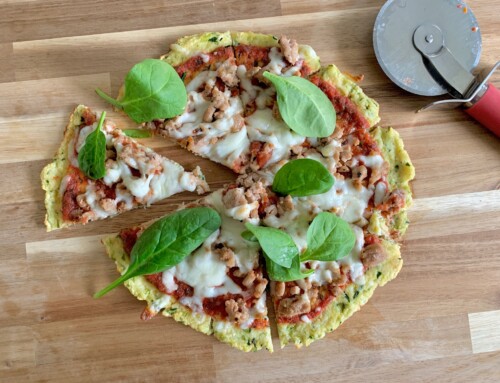
Select your recipes – let’s say you’re going to make a soup or stew, roasted chicken with vegetables and some zucchini fritters. The first step is to look at the number of servings on the recipe and to double or triple it, depending on how much you want to make. Then you want to make a shopping list. The easiest method I have found is to use a spreadsheet like Excel. You can make a list that you can save and edit later if you need to, move things around and add ingredients, etc. Make sure that your list reflects the amount you need for the bigger recipe! Once you have your list, you can do the shopping and get ready for cooking!
My advice is to block off a period of time – approximately 2-3 hours when you can concentrate on cooking the food. Turn off the phone, get the kids out of the house (unless they’re helping you) and make sure you won’t be interrupted. That way you can be really efficient and make sure the food isn’t burning! Here are some steps for how to proceed:
1) Read and familiarize yourself with all your recipes before you begin. This is probably the most important piece of advice I can give. The last thing you want is to be almost done with everything and then find out you need to roast something for two hours!
2) Make a game plan. One thing that I have learned is that if you are making several dishes at once, it’s a really different way of cooking. You aren’t going to make one dish from start to finish and then work on the next dish. You will actually be making all the dishes at the same time. That is why a game plan is vital. There will be some dishes (like the soup or stew) that will take a long time to cook. You want to get that dish started first. Then you want to move on to the next most time-consuming dish in terms of cooking time, roasted chicken and vegetables in our case. And finally, you want to work on the items that don’t require long cooking periods. So in our case, I would start on the soup or prep the stew first and get that cooking. Then I would slice up the vegetables and prep the chicken and pop that in the oven and then make the zucchini fritters. By the time the fritters are done, the chicken and soup should be close to ready.
3) Use timers. Most people can’t keep four different timers going in their head, and they shouldn’t need to. We have timers built in to our stoves and microwaves and phones. Use them! They are the best way to make sure that food is not burned.
4) Stay organized. You will be doing a lot of multi-tasking and you will need to keep track of where you are in the recipes. It is a good idea to place the recipes in a clear plastic sleeve so they don’t get wet and splattered and to use a post-it flag or other marker to mark where you are so you can easily see what you are doing next.
5) Make sure you have the appropriate containers ready so you can put the food in them when it’s cooled off sufficiently, and plenty of space in the fridge for the meals you are going to eat first.
6) It’s a great idea to have a clean kitchen, sink and empty dishwasher before you begin. It will make your life a lot easier if you can place the dirty dishes directly in the dishwasher. You will probably be quite surprised at how many bowls and dishes you will go through!
Now that you’re ready and have a game plan, go cook! What are you waiting for?
If you have questions or tips to share, I’d love to hear from you in the comments section.
